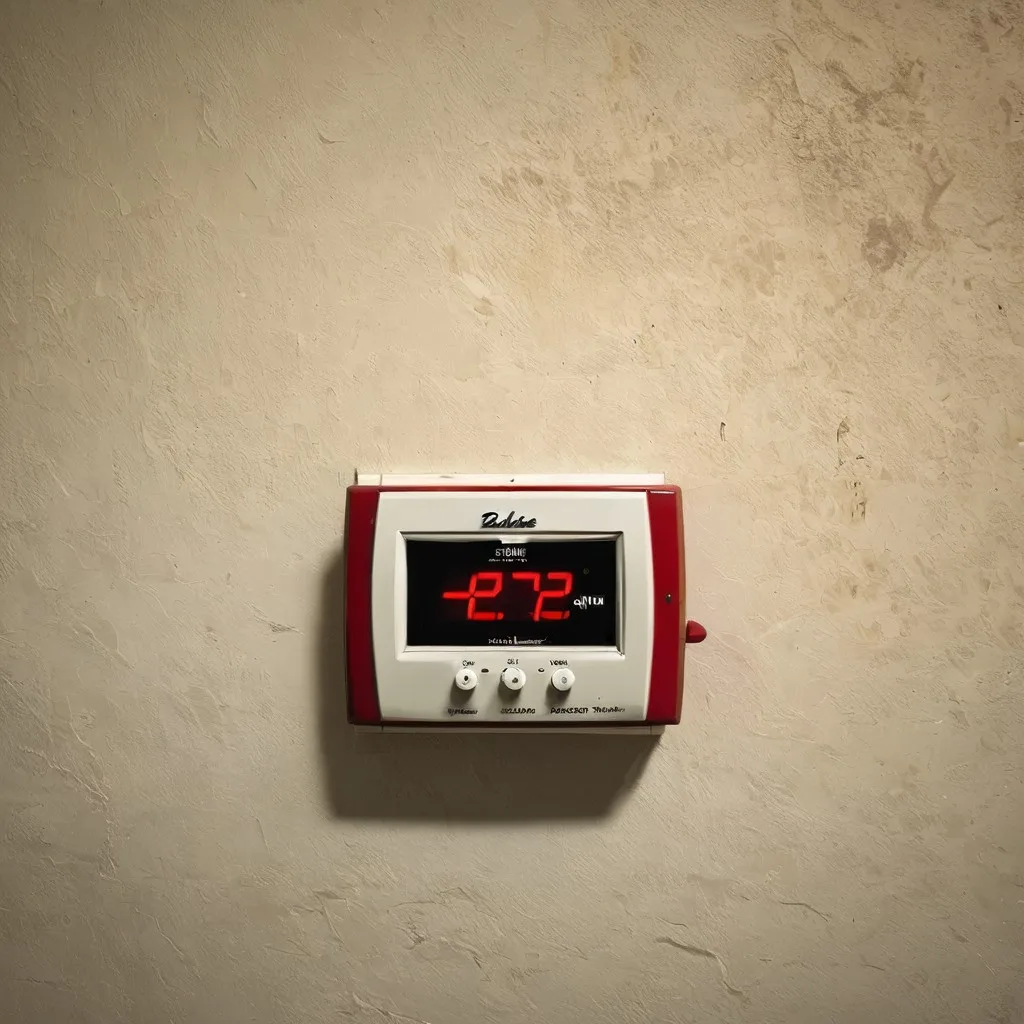
When dealing with HVAC troubleshooting, one of the simplest yet often overlooked steps is to check the thermostat settings. This tiny, yet mighty device is the brain of your HVAC system, controlling when and how it operates. Before delving into more complex diagnostics or considering professional help, DIY tips suggest verifying that your thermostat settings are correct, as this could spare time and unnecessary expenses.
Firstly, ensure that the thermostat is set to the desired mode—whether that’s heating or cooling. It’s a common oversight to have it inadvertently set on the wrong setting, which can lead to an unexpected environment in your home. Double-check that the temperature setting aligns with your comfort preferences. If the thermostat is programmable, confirming that the scheduled settings are accurate and haven’t been disrupted due to a power outage or accidental input is also vital.
For digital or smart thermostats, look for error messages or connection issues. Smart thermostats require a stable Wi-Fi connection, and any disruptions may impede their communication with the HVAC system. Ensuring firmware updates are current might resolve operational glitches or enhance functionality.
It’s crucial to remember that thermostats can sometimes encounter calibration issues. This occurs when the device does not accurately reflect the actual ambient temperature, leading to inefficiency. Older thermostats, in particular, are susceptible to this problem, and professional calibration might be necessary if you suspect inaccuracies.
Another pivotal aspect is assessing the battery life, especially for battery-operated thermostats, as low power can lead to erratic performance or even total loss of function. Replace the batteries if they are low or depleted to maintain a seamless operation.
| Action | Purpose | Additional Notes |
| Mode Verification (Heating/Cooling) | Ensure system is set to the desired function | Check whether the system matches seasonal needs |
| Temperature Setting Adjustment | Match settings with personal comfort levels | Verify against actual room temperature |
| Inspect for Error Messages | Identify any connectivity or operational issues | Check Wi-Fi signal for smart thermostats |
| Battery Check | Prevent low power-related issues | Replace batteries regularly |
Meticulous attention to thermostat settings can preempt straightforward HVAC issues, potentially saving the inconvenience of living in an uncomfortable environment and the expense of unnecessary professional service calls. Implementing these DIY tips could lead to a significant improvement in your system’s performance.
inspecting air filters
One of the most crucial DIY tips for HVAC troubleshooting is to inspect the air filters. This is an easy task that can have a significant impact on the efficiency and longevity of your HVAC system, as well as the air quality in your home. Regularly checking and maintaining your air filters not only helps in preventing larger issues down the line but can also improve system performance.
- Turn off the HVAC system: Before initiating any inspection or maintenance on your HVAC unit, always ensure that the system is powered off to avoid potential hazards or unwanted damage.
- Locate the air filter: Generally, filters are found where the return duct enters the system. Depending on your setup, this could be in the furnace itself, in a dedicated filter grille, or integrated within ductwork. Refer to your system’s manual for precise details if you’re unsure.
- Remove the filter: Carefully slide out the air filter from its compartment. Pay attention to the direction the filter was positioned, as you will need to replace it in the same orientation.
- Check the condition of the filter: Examine the filter closely for any clogs, dirt, or damage. If it appears gray and filled with dirt or dust, it is likely time for a replacement.
- Determine the type of filter: Filters vary widely in make and model, including disposable fiberglass, pleated, or reusable washable types. Understanding the kind of filter installed helps determine whether it needs replacing or simply cleaning.
- If necessary, clean or replace the filter:
- Disposable filters: Replace disposable filters with an identical new one. It’s crucial to choose the correct size and type to ensure optimal performance.
- Washable filters: If reusable, follow the manufacturer’s cleaning instructions. Usually, mild soap and water will suffice. Make sure the filter is completely dry before reinserting it to prevent mold growth.
- Reinstall the filter: With the filter cleaned or replaced, slide it back into its original position, following any directional arrows marked on the filter or compartment for proper airflow alignment.
- Schedule regular checks: To ensure ongoing system efficiency, mark your calendar or set a reminder to check the filter every 1 to 3 months, depending on the type of filter and your household’s air quality needs.
Regular air filter inspections are an easy yet essential part of HVAC troubleshooting that help maintain your HVAC system’s health, efficiency, and indoor air quality, minimizing the need for more extensive repairs or professional call-outs.
examining circuit breakers
A comprehensive review of your HVAC system should definitely include checking the circuit breakers—a simple yet often undervalued step in the troubleshooting process. Circuit breakers play a critical role in protecting your HVAC unit from electrical overloads and potential damage. If your system suddenly stops working, examining the state of these breakers could swiftly resolve the issue without the need for professional intervention, saving both time and money.
Firstly, begin by locating your breaker panel, which is usually situated in a utility area such as a basement, garage, or storage room. Once located, take note of any breakers that control power to your HVAC units. These could be labeled specifically for heating, cooling, or simply as HVAC. Anything amiss with these breakers could potentially be the root of your system’s malfunction.
Perform a thorough inspection of the circuit breakers to verify their positions. If any breaker linked to your HVAC system is in the “off” position or is not fully engaged, this could indicate a tripped breaker. Breakers often trip when there is an electrical surge or a short circuit, effectively preventing the equipment from receiving power and ensuring its protection. It’s crucial to switch off the main power before making any changes for safety.
To reset a tripped breaker, gently push it all the way to “off” before turning it back to the “on” position. Listen and look for a firm click that indicates the breaker is securely reset. Afterward, return power to your HVAC system to see if the reset resolves the issue. Successful DIY tips like these highlight how minor adjustments can restore your system’s functionality without additional assistance.
Understanding the reasons behind tripped breakers can also provide insights into potential underlying problems. Occasional tripping might be attributed to issues like overused circuits or faulty components within the HVAC system, suggesting that a deeper investigation might be required. Frequent tripping, however, could indicate more severe problems such as shorts or failing equipment, warranting an evaluation by a professional to ensure your safety and the integrity of your home’s electrical systems.
Establishing a routine check of your circuit breakers can forestall significant system malfunctions. Incorporating such easy DIY tips into your regular maintenance schedule will not only ensure that your HVAC system runs smoothly but also improve its overall longevity, offering a proactive approach to home maintenance. This practice diminishes the likelihood of more significant disruptions and expensive repairs, making it a vital part of responsible homeownership.
assessing airflow obstructions
When your HVAC system doesn’t seem to be operating optimally, one often overlooked area to examine is the airflow throughout the system. Ensuring unobstructed airflow is vital for the efficiency and performance of your HVAC unit. Blockages can lead to insufficient heating or cooling, increased energy costs, and unnecessary strain on your system. Some simple DIY tips can help you tackle this issue before you need to call in a professional.
Begin your investigation by checking all the vents and registers in your home. These are the gateways through which conditioned air enters each room, and sometimes, they can become blocked by furniture, drapes, or other household items. Ensure that these openings are fully open and free from any obstructions, allowing air to flow freely into your living spaces. Rearranging furniture or adjusting window coverings can make a significant difference in maintaining consistent temperatures throughout the house.
Next, take a trip outside to examine the area surrounding your HVAC unit, particularly if you have a central air conditioner or heat pump. Leaves, overgrown plants, or debris can accumulate around the outdoor unit, impeding airflow and reducing its ability to function effectively. Clear a space of at least two feet around the unit, trimming back any vegetation and removing any debris that may have gathered.
Indoor components, like ducts, should also be inspected if you can access them. Over time, ductwork can accumulate dust and debris or even develop leaks that interrupt the flow of air. While some duct cleaning can be a simple DIY task, more extensive cleaning or sealing may require professional attention. Consider investing in routine professional duct maintenance to keep this important aspect of your HVAC system in peak condition.
Pay attention to the performance of your system as well—if you notice certain rooms are consistently warmer or cooler than others, it might be an indication of airflow issues. In such cases, balancing the airflow by adjusting the dampers in your duct system can help. Dampers are typically located in the main supply ducts and can be opened or closed to regulate air distribution. By adjusting them, you can ensure a more even temperature throughout your home.
Regularly monitoring and managing airflow is a preventive measure that can save you from dealing with bigger HVAC troubleshooting issues down the line. Implementing these DIY tips not only enhances the system’s efficiency and your home’s comfort but also prolongs the life of your HVAC unit, postponing the need for costly repairs or replacements.
evaluating unusual noises
Hearing strange or unusual noises coming from your HVAC system can be unsettling, and often, it’s an indication that something is amiss. Before calling in a professional, there are some DIY tips you can employ to identify and potentially resolve these issues yourself.
Start by narrowing down the source of the noise. Common places where noises originate include the outdoor unit, the ductwork, and the unit’s internal components like the blower or fan. A rattling sound, for instance, might signal that a small part or screw has come loose, or debris has entered the system. Check around the outdoor unit and inside, if accessible, for any objects that could have slipped into the mechanism, and securely fasten any loose parts.
If you hear a squealing or screeching sound, the blower motor or a worn belt could be the culprit. Belts can wear out over time, causing them to slip and generate noise. While replacing a belt requires a bit of mechanical know-how, the process is generally straightforward for those who are handy with tools. Meanwhile, lubrication noises from the motor may require a simple application of motor oil to the bearings to restore smooth operation.
Grinding or clanking sounds are more concerning, often indicating more significant issues like failing bearings or loose components within the system itself. This type of noise suggests that parts may be in contact with each other in ways they shouldn’t be, which calls for immediate attention to prevent further damage. Turn off your HVAC system immediately if you hear such noises to avoid exacerbating any potential damage.
A clicking noise, especially one that begins before the unit starts or after it stops, could imply a problem with the electrical components, such as relays or capacitors. If you’re comfortable with basic electrical safety procedures, checking and securing all electrical connections may help resolve the issue. However, if the noise persists, it might be necessary to call a professional to inspect the system safely.
Finally, a buzzing sound often points to electrical issues, like a failing condenser fan motor or loose electrical connections. Practicing caution is key when dealing with electrical components, and if you’re not experienced with electrical repairs, this issue is best left to professionals to prevent any risk of electric shock.
By listening carefully and identifying the type of noise and its location, homeowners can use these DIY troubleshooting tips as a guide to addressing minor HVAC noises, potentially avoiding the expense of an unnecessary service call.
In conclusion, by following these simple checks—from verifying thermostat settings to troubleshooting unusual noises—you can address many minor HVAC issues on your own. Not only can these DIY tips save you from costly professional service calls, but they can also extend the durability and efficiency of your system, ensuring your home remains comfortable year-round. Always remember, however, that safety is paramount, and when in doubt, do not hesitate to contact a professional for help.